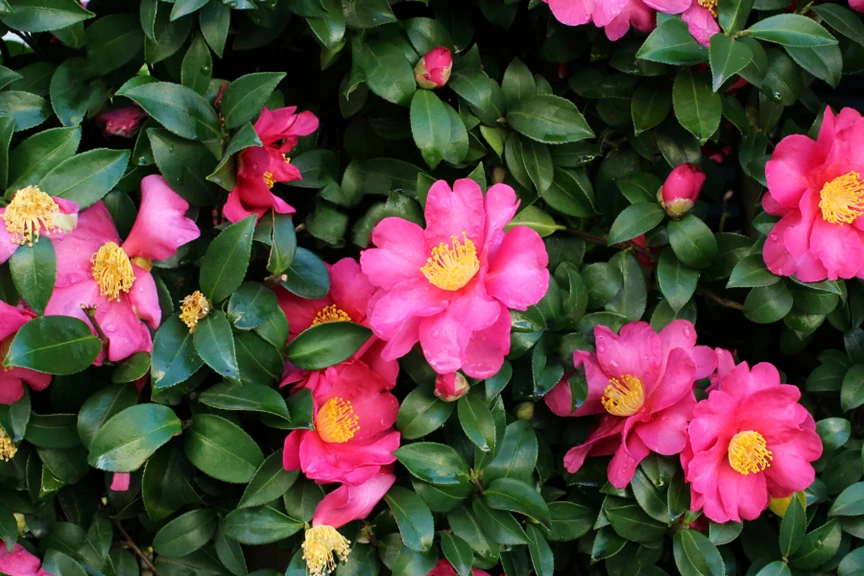
Camellia spp.
How to Grow Camellia
Camellias (Camellia spp.) are one of the most versatile and beautiful flowering plants that you can have in the garden. They can be used as a hedge, a stunning feature tree, a leafy potted plant, grown for their outstanding blooms, to make and create tea (C. sinensis) or just to add some colour to the garden during the coolest months. There are also prostrate varieties that can be grown as a ground cover, plus Camellias with fragrant flowers. The most common species of camellias are sasanquas and japonicas. Sasanquas are hardy camellias that are usually the first to flower, starting in autumn. Japonicas prefer growing in shady areas and flower from late autumn to early spring.
Part Shade with Some Full Sun Tolerant Varieties
Keep Soil Moist
Well-Drained & Acidic Soil
Suitable for Cool to Sub-Tropical Climates
How to Grow Camellias in a Garden
Camellias come in a range of single to double blooms and a variety of colours from deep pinks and reds, through to pretty light pink, pale yellow, cream and white. Camellias with exposed stamens are adored by bees and Camellia flowers can also attract birds.
Step 1 - Location
Choose a well-drained spot in the garden that receives the amount of sun appropriate for your chosen variety. The plant tag will indicate whether it will tolerate full sun or prefers a shadier position.
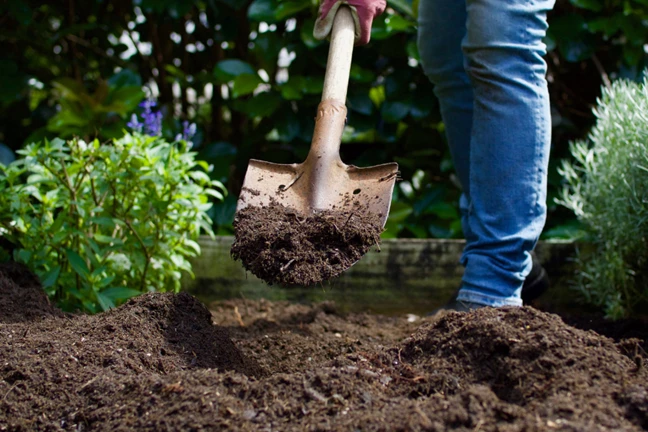
Step 2 – Dig the Planting Hole & Improve the Soil
In areas with heavy or clay soil, Camellias can be planted in a raised (20 cm) mound of free-draining soil.
Dig the planting hole twice as wide and to the same depth as the root-ball.
Improving the soil before planting will help give the plant a great start. Soil improvement is as simple as mixing Soil conditioners and plant fertilizers into the soil dug from the planting hole.
Step 3 - Planting
Position the Camellia in the hole and backfill with enriched soil, gently firming down. Form a raised or doughnut-shaped ring of soil around the outer edge of the plant's root zone. This helps keep water where it's needed. Always water in well after planting to settle the soil around the roots.
Step 4 – Early Camellia Care
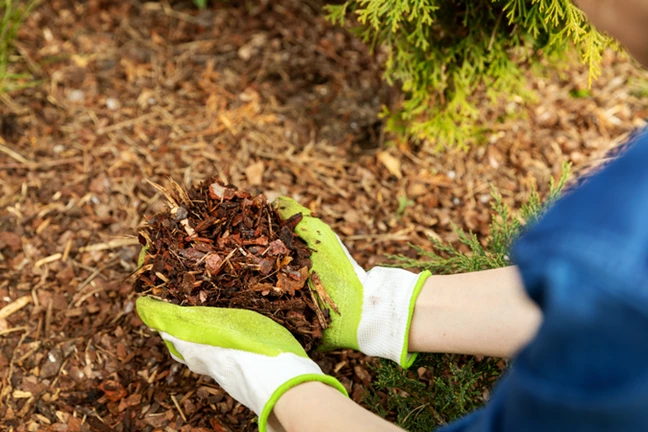
Keep the soil moist for several weeks while the new plant establishes. Apply mulch, such as bark chips, sugarcane or pea straw, around the root zone, keeping it away from the trunk. Mulch helps keep the soil moist and the roots protected.
Step 5 – Watering & Feeding Camellias
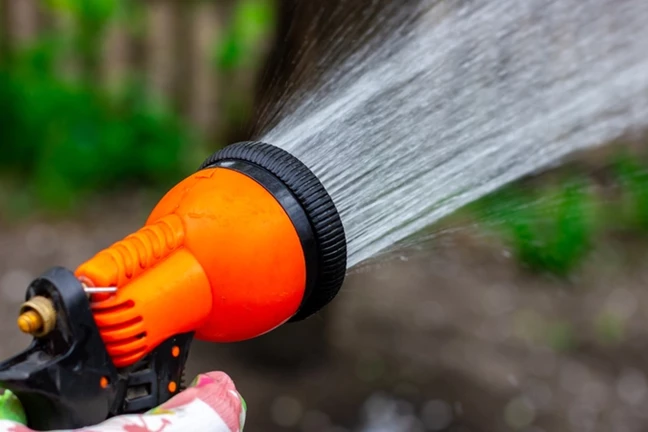
Water Camellias deeply, two to three times a week, depending on weather conditions.
From spring until the end of flowering, feed Camellias every 8 weeks with Flower Organic Granular Plant Food. This will encourage healthy green leaf growth, strong root development and lots of beautiful flowers.
How to Grow Camellias in a Pot
Small and medium-sized Camellias can be grown in pots. So, balcony, patio and small space gardeners can still enjoy growing these gorgeous plants. The plant tag will provide information on its suitability for growing in a pot.
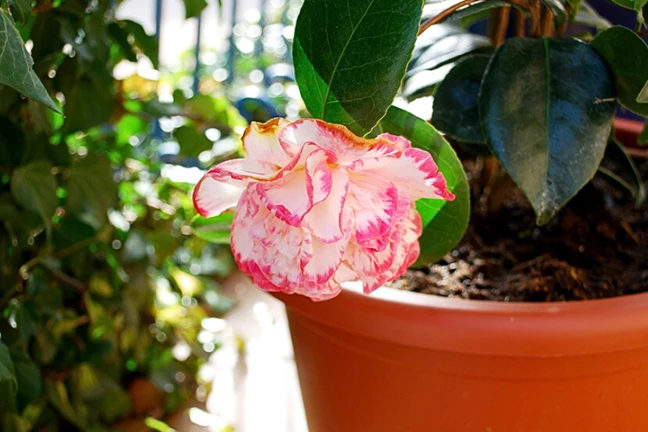
Step 1 – Choose a Pot & Location
Choose a spot that receives the amount of sun appropriate for your chosen variety. The plant tag will indicate whether it will tolerate full sun or prefers a shadier position.
Use a well-drained pot at least 400 mm in diameter.
Step 2 - Planting
Part fill the pot with a quality potting mix, that’s suitable for Camellias. Remove the plant from the existing container and gently tease the outer roots.
Place the root ball on the potting mix and backfill around the roots with the fresh potting mix. The final level of mix should be at the same as the level as currently around the plant.
Step 3 – Early Camellia Care
Keep the potting mix moist for several weeks while the new plant establishes. Apply mulch, such as bark chips, sugarcane or pea straw, around the root zone, keeping it away from the trunk. Mulch helps keep the potting mix moist and the roots protected.
Step 4 – Watering and Feeding Camellias
Water potted Camellias thoroughly, two to three times a week, depending on weather conditions.
From spring until the end of flowering, feed Camellias every 1-2 weeks with Flower Concentrate. This will encourage healthy green leaf growth, strong root development and lots of beautiful flowers.
Camellia Growing Tips
How to Water Camellias
Camellias are quite drought tolerant once established but the plants will perform at their best if water stress is kept to a minimum. Camellias have shallow root systems that can dry out quickly during dry weather. In addition to regular and thorough watering, spread a layer of mulch, such as bark chips, sugarcane or pea straw, around the root zone to help retain moisture.
What is the Best Soil for Camellias?
Camellias do best in soil that is well-drained, rich in organic matter and slightly acidic. In areas with poorly drained or clay soil, Camellias can be planted in a raised (20 cm) gently sloping mound of free-draining soil. Many Camellias are also wonderful for growing in pots.
Do Camellias Grow in Acidic or Alkaline Soil?
Camellias grow best in slightly acidic soil with a soil pH of 5.5 to 6.5. See The Importance of Soil pH for Plant Nutrition & Health for more info.
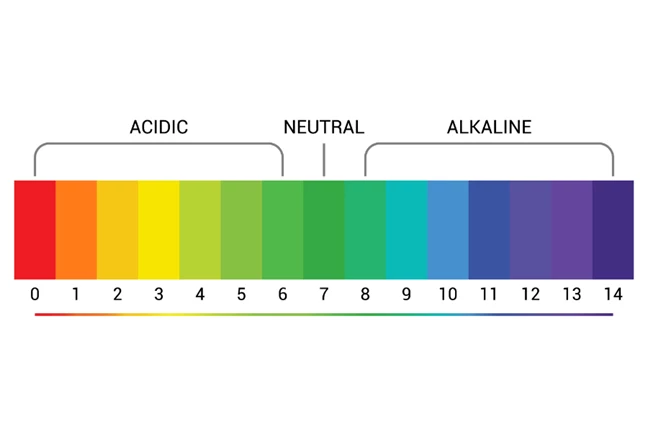
What is the Best Way to Lower the Soil pH for Camellias?
If the soil is alkaline (pH above 7), apply some Soil acidifier liquid sulfur to help reduce the soil pH.
Do I Need Special Potting Mix for Camellias?
Camellias prefer a potting mix that’s been specially designed for acid-loving plants.
What Are the Hardiest Camellias?
Sasanqua Camellias are the hardiest Camellias, tolerating full sun. Sasanqua Camellias growing in full sun should be kept moist.
Do Camellias Grow in Morning or Afternoon Sun?
Japonica Camellias like part-shade all day or only gentle morning sun. Sasanqua Camellias will tolerate full sun all day if kept moist, but do best with protection from the hot afternoon sun.
Can You Grow Camellias from Cuttings?
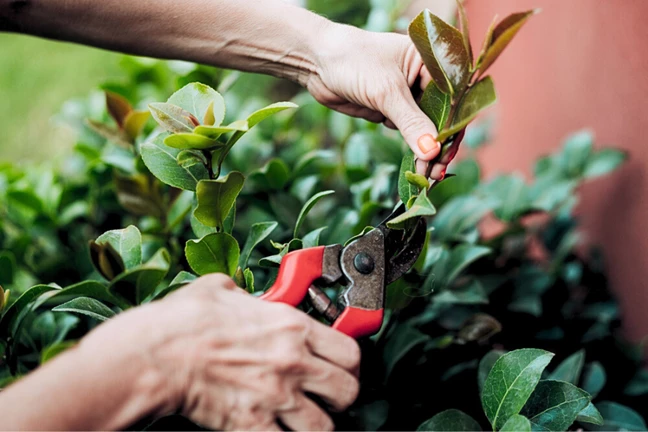
Yes! Take semi-hardwood cuttings (new stems that have hardened off) during summer. Cut 10 cm long stem pieces, remove all but the top few leaves, dip the ends of the stems into Yates Clonex Purple Rooting Hormone Gel and insert into small pots of Yates Specialty Potting Mix Cuttings & Seeds. Place the pot in a warm, protected spot and keep the mix moist. Roots will develop over the next 2-3 months.
When is the Best Time to Prune Camellias?
The best time to prune Camellias is soon after flowering has finished.
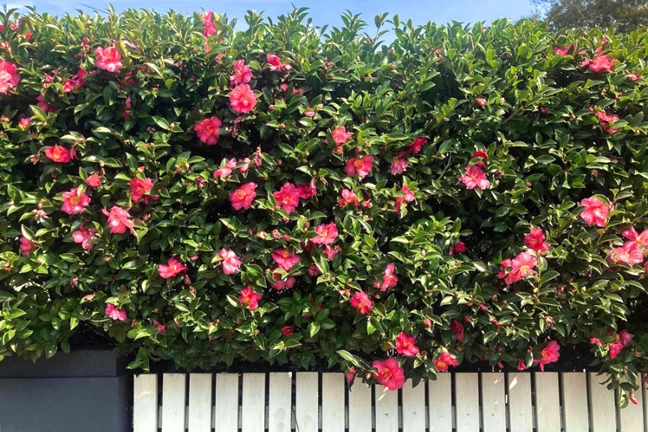
How Do You Make Camellias Bushier?
Regular light pruning, after flowering has finished, will help promote bushier growth.
When is the Best Time to Plant Camellias?
Camellias can be planted year-round, however, spring and autumn are the best planting times, as conditions are mild and less stressful for new plants.
When is the Best Time to Transplant a Camellia?
The best time to transplant a Camellia from one part of the garden to another is between the end of flowering and mid-spring.
When Do Camellias Flower?
Camellias flower during the cooler months of the year. Sasanqua Camellias start flowering around mid-autumn. Japonica Camellias start flowering from late Autumn.
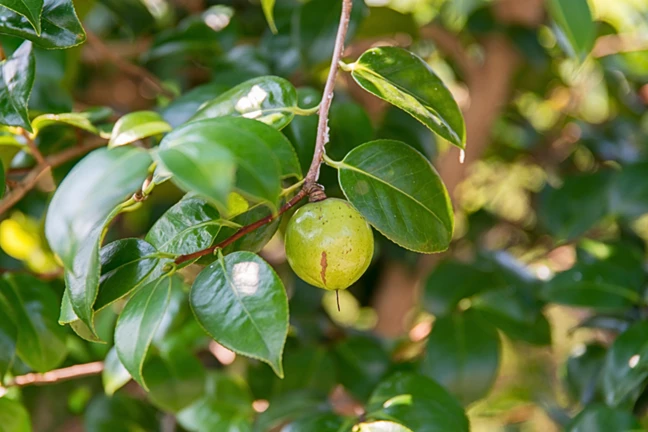
What Are the Hard Nut-Like Growths on My Camellia?
Camellias sometimes produce seeds, which appear like hard nuts on the stems. New Camellias can be grown from seed, however, it can take many years for these seed-grown plants to flower.
Common Problems of Camellias
Why Are My Camellia Leaves Turning Yellow?
Yellow leaves can be an indication of a nutrient deficiency. Plants that have leaves that are predominantly yellow are likely to be suffering from a nitrogen deficiency. Nitrogen is the key nutrient that promotes healthy green leaf growth. Nitrogen deficiency can be corrected by regularly feeding plants with fertilisers like Yates Thrive Natural Roses & Flowers Liquid Concentrate.
Leaves that are yellow, but the veins remain green, indicate an iron deficiency. The soil or potting mix could be low in iron. Or alkaline soil (soil pH above 7) can make iron less available to plants. Iron deficiency can be corrected by spraying the plant with Iron Chelate. It’s a concentrated form of fast-acting iron and is ideal for treating iron deficiency in acid-loving plants like Camellias.
Why Are My Camellias Sunburnt?
Even the sun-hardiest Camellia can burn on an extra-hot day. Leaves can appear dry or singed, or burnt spots may develop. Leaves damaged by sunburn can then be susceptible to fungal diseases. You can provide your plant with some additional protection during hot weather by applying Yates DroughtShield to the leaves. And ensure the soil or potting mix is kept moist, particularly during hot weather.
Why Are My Camellia Flower Buds Falling Off?
There are several reasons why Camellias can drop their flower buds (known as ‘balling’).
Flowering plants will often produce more flowers than they are capable of sustaining. Plants can drop some buds as a result.
Camellias that are stressed due to over or under-watering, or being underfed, may drop flower buds. Check the moisture levels in the soil or potting mix and feed Camellias regularly with Yates Thrive Natural Roses & Flowers Concentrate.
Magnesium deficiency has also been associated with Camellia balling. If your Camellia is correctly watered and fed and still shows signs of balling, then additional magnesium may be required. Spray plants with Magnesium Chelate, which is a concentrated source of fast-acting magnesium.
Why Aren’t My Camellia Flowers Opening?
Flower buds that fail to open can be due to moisture or nutrient stress. Follow the same care directions as per Why Are My Camellia Flower Buds Falling Off ?.
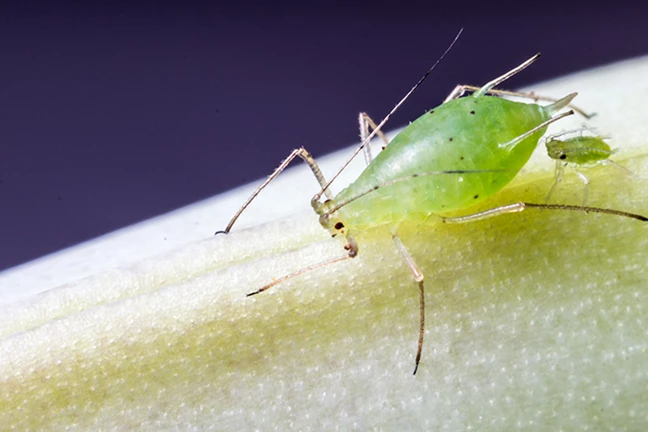
What Are the Tiny Insects On My Camellia?
Aphids are tiny grey, green, brown, yellow or black sap-sucking insects that cluster on leaves and stems. They can damage the leaves, causing leaves to yellow and distort, and plant health will suffer.
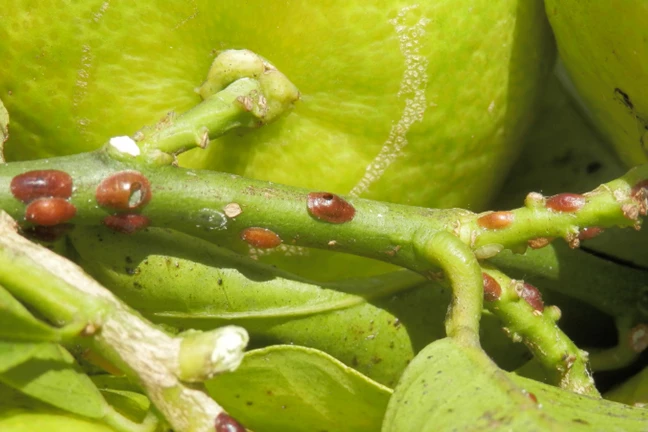
Why Are There Tiny Bumps on the Leaves & Stems of My Camellia?
Scales are sap-sucking insects that appear as raised brown, white, black or grey bumps on stems or leaves.
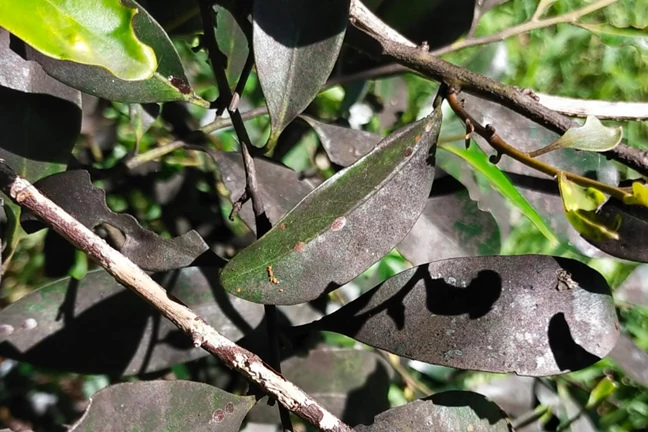
Why Are My Camellia Leaves Sticky & Covered in Black Sooty Mould?
Aphids, Scales and various other sap-sucking pests excrete a sticky substance known as honeydew. This honeydew is often given to Ants in exchange for protection from predators. Any leftover honeydew can encourage the disease Sooty Mould which is a black and powdery fungus that coats the leaves.
How to Get Rid of Aphids & Scale on Camellias
When Scale and Aphids are noticed, spray plants with Yates Scale Gun. Spray the Aphids or Scale directly, including on the undersides of leaves and stems, as Yates Scale Gun works via contact action. Repeat each week as required.

Why Are My Camellia Leaves Bronzing in the Centre?
The Camellia Tea Mite, also known as the Ribbed Tea Mite or Purple Tea Mite, can cause discolouration of the leaves, including bronzing down the centre of the leaf. Mites are very tiny and only visible to the naked eye with a hand lens. So, it is difficult to detect them in the early stages of infestation. In addition to the bronzing, a fine spidery webbing on the stems is another indication of Mites. This pest can build up in numbers, particularly during periods of dry weather.
There are no products that are specifically registered to control Camellia Tea Mite. Overhead watering can help to reduce the population. Keeping plants healthy, with regular feeding and watering, will help too. Affected leaves and stems can also be removed, as the damage done by Camellia Tea Mite is permanent.
Can You Get Rid of Camellia Virus?
Camellias infected by a virus show mottled, discoloured or deformed leaves. Flowers can also be affected. Unfortunately, there is no cure for plant viruses. Affected stems can be trimmed off if desired. After pruning a viral-infected Camellia, it’s important to disinfect pruning tools soon after to limit the spread of the virus to other Camellias.
